

b开源IT资产管理软件GLPI介绍
GLPI是法语Gestionnaire libre de parc informatique的缩写,是一款历史悠久的IT资产管理软件
GLPI提供功能全面的IT资源管理接口,可以用来建立数据库全面管理IT的电脑,显示器,服务器,打印机,网络设备,电话,甚至硒鼓和墨盒等。提供Helpdesk用户支持平台
官方文档及下载链接
https://glpi-project.org/downloads/
https://glpi-project.org/documentation/
https://glpi-install.readthedocs.io/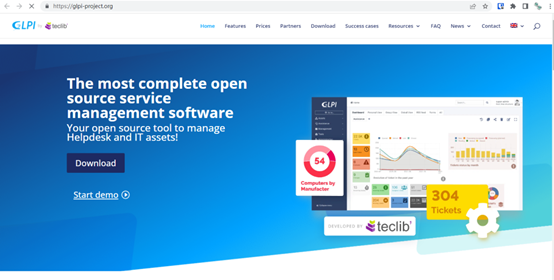
下面介绍在CentOS7下部署开源IT资产管理软件GLPI+FusionInventory
1、CentOS7服务器环境配置+remi源配置
sed -i 's/enforcing/disabled/g' /etc/selinux/config
setenforce 0
curl -o /etc/yum.repos.d/epel.repo http://mirrors.aliyun.com/repo/epel-7.repo
curl -o /etc/yum.repos.d/CentOS-Base.repo https://mirrors.aliyun.com/repo/Centos-7.repo
sed -i -e '/mirrors.cloud.aliyuncs.com/d' -e '/mirrors.aliyuncs.com/d' /etc/yum.repos.d/CentOS-Base.repo
yum install epel-release -y
rpm -Uvh http://rpms.remirepo.net/enterprise/remi-release-7.rpm 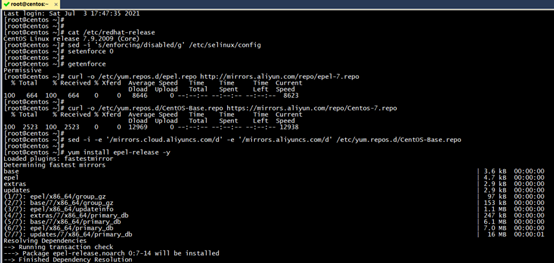
2、安装PHP+GLPI所需的依赖环境
yum -y install --enablerepo=remi --enablerepo=remi-php74 php php-opcache php-devel php-mbstring php-mcrypt php-mysqlnd php-pecl-xdebug php-pecl-xhprof php-imap php-gd php-ldap php-intl php-simplexml php-zip php-apcu php-xmlrpc php-pear-CAS php-zip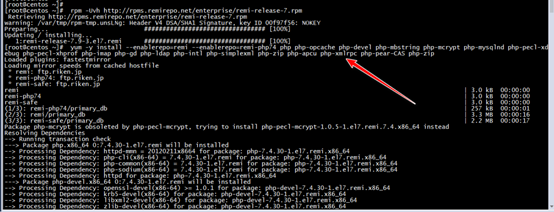
yum -y install gcc gcc-c++ flex bison autoconf automake bzip2-devel zlib-devel ncurses-devel libjpeg-devel libpng-devel libtiff-devel freetype-devel pam-devel openssl-devel libxml2-devel gettext-devel pcre-devel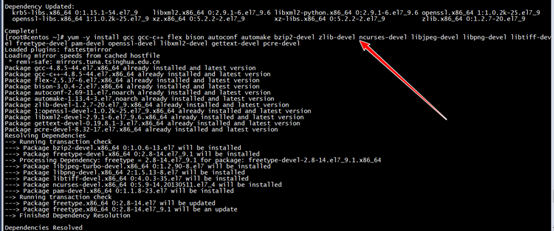
3、安装mariadb数据库
vim /etc/yum.repos.d/mariadb.repo
[mariadb]
name = MariaDB
baseurl = https://mirrors.aliyun.com/mariadb/mariadb-10.5.16/yum/centos74-amd64/
gpgcheck = 0
yum makecache
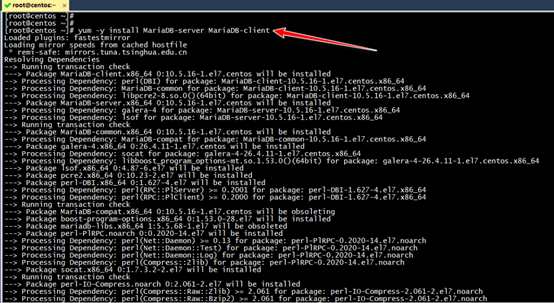
yum -y install MariaDB-server MariaDB-client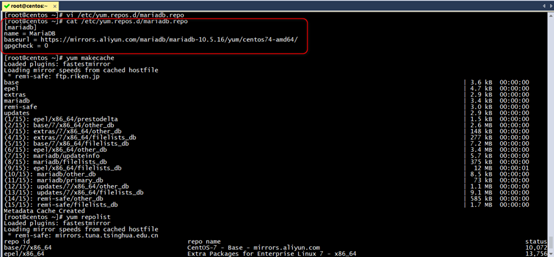
systemctl start mariadb
systemctl enable mariadb
初始化数据库,然后创建数据库
mysql_secure_installation
#设置数据库root密码
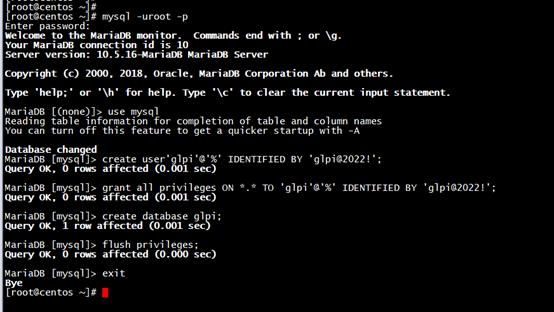
mysql -uroot -p
use mysql
create user'glpi'@'%' IDENTIFIED BY 'glpi@2022!';
grant all privileges ON *.* TO 'glpi'@'%' IDENTIFIED BY 'glpi@2022!';
create database glpi;
flush privileges;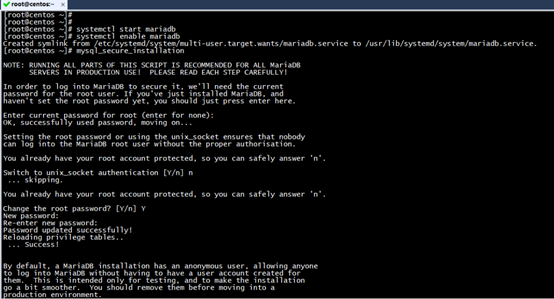
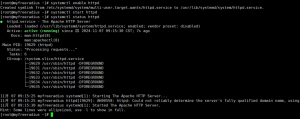
4、安装httpd服务并导入glpi安装包
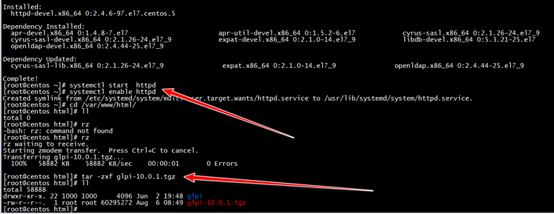
yum install -y httpd httpd-devel
systemctl start  httpd
systemctl enable httpd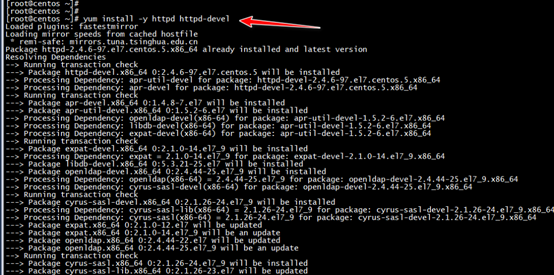
glpi下载地址
https://github.com/glpi-project/glpi/releases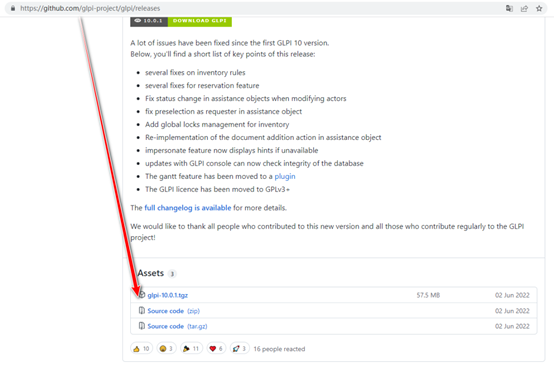
这里为了跟FusionInventory插件版本一致,我选用了10.0.1版本的GLPI
cd /var/www/html/
tar -zxf glpi-10.0.1.tgz

chown -R apache:apache /var/www/html/
ll
chmod 755 -R /var/www/html/glpi/config/
chmod 755 -R /var/www/html/glpi/files/

firewall-cmd --permanent --zone=public --add-port=80/tcp
firewall-cmd --reload
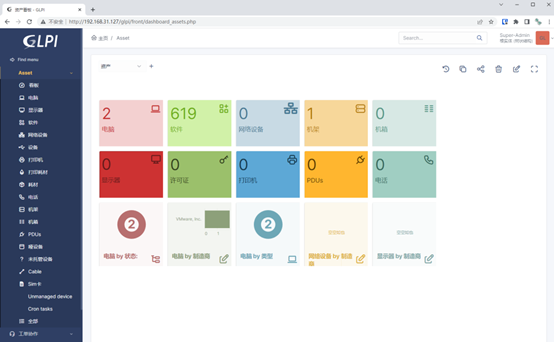
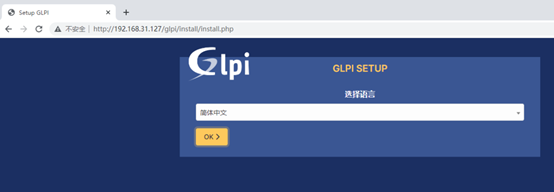
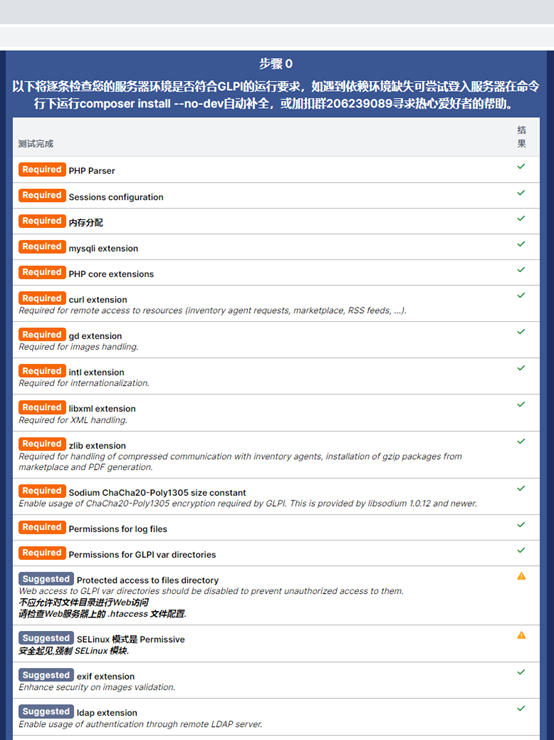
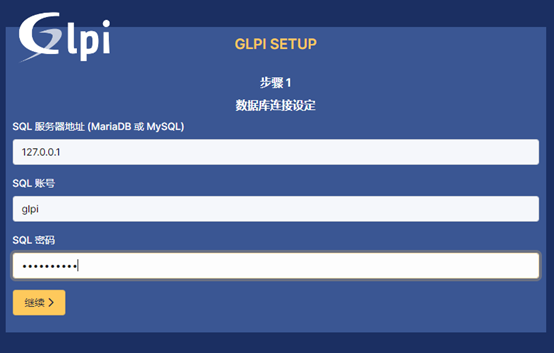
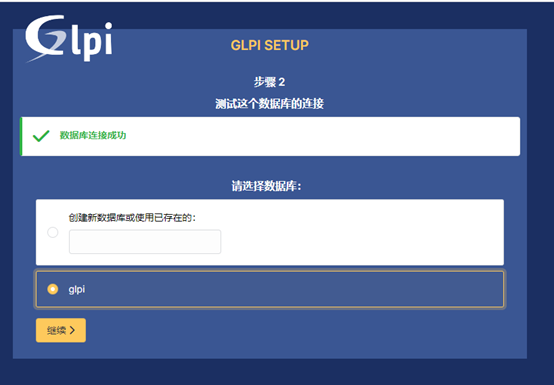
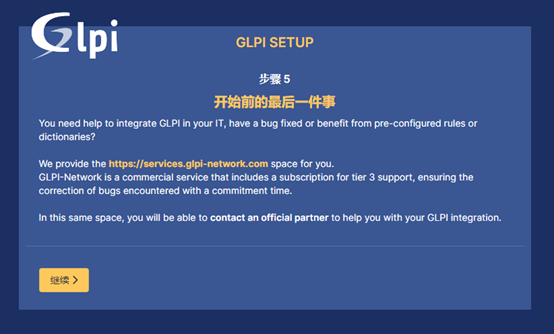
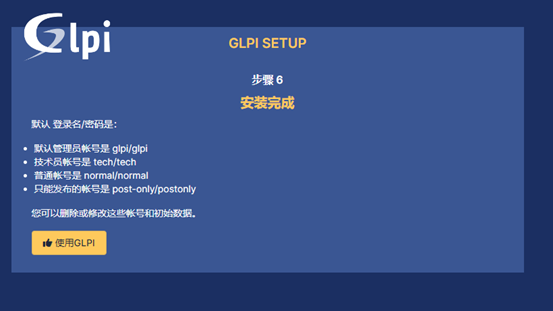
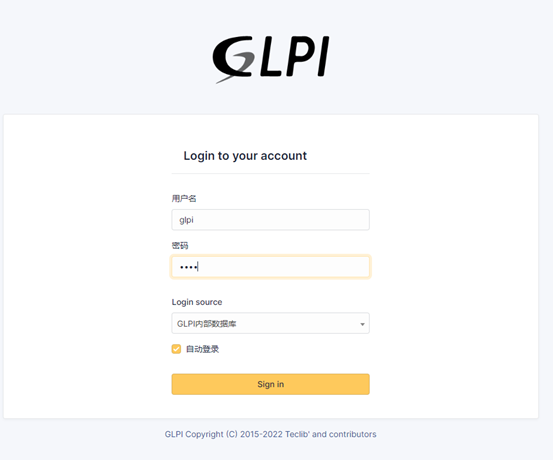
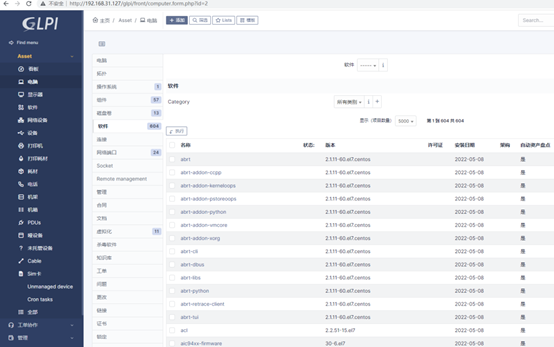
5、初始化GLPI
http://192.168.31.127/glpi/环境检查配置数据库连接


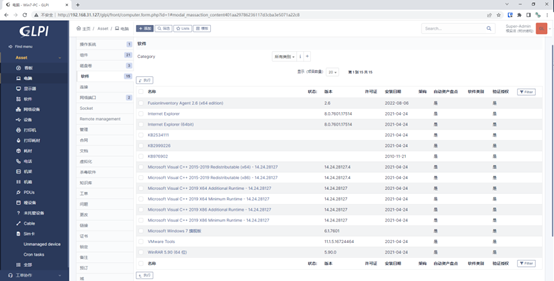
6、安装fusioninventory插件
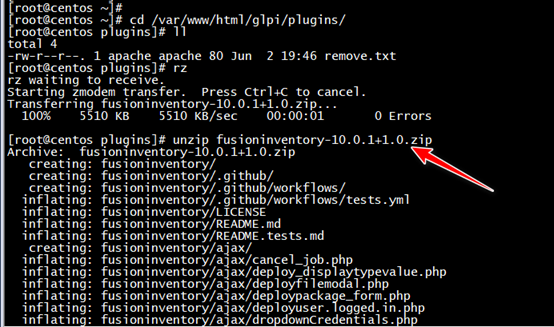
cd /var/www/html/glpi/plugins/

https://github.com/fusioninventory/fusioninventory-for-glpi/releases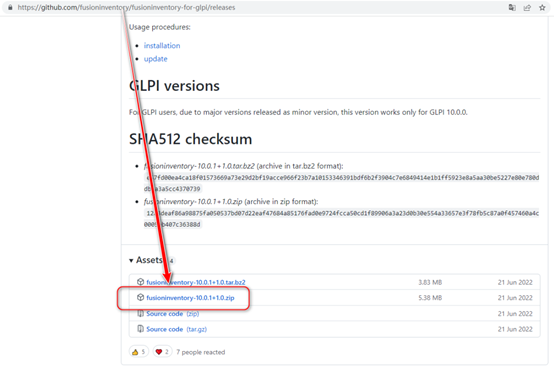
上传并解压
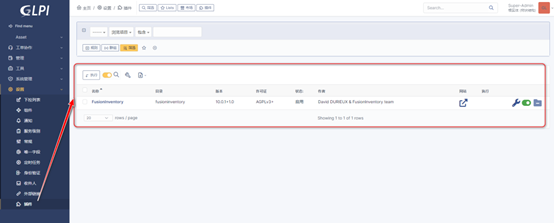
安装并启用fusioninventory插件
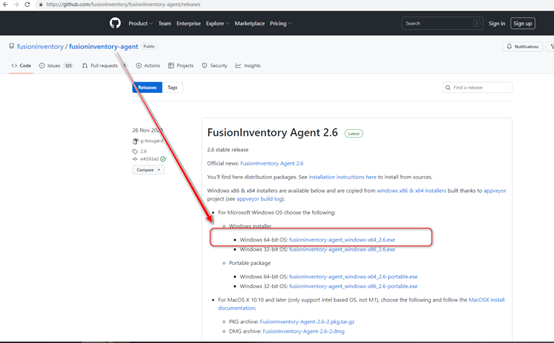
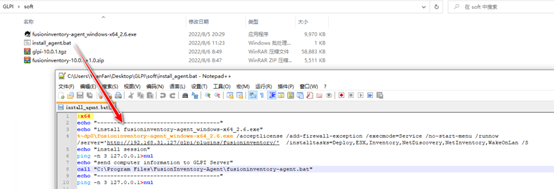
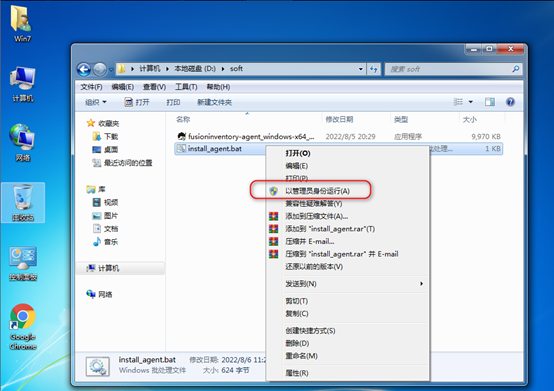
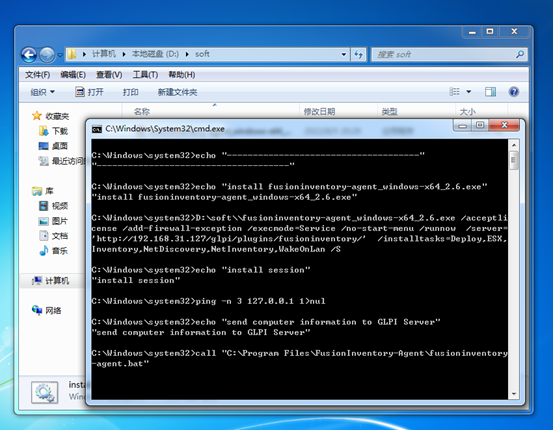
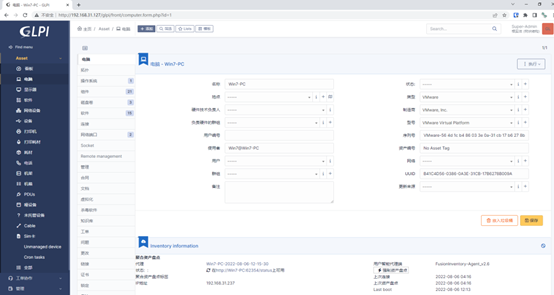
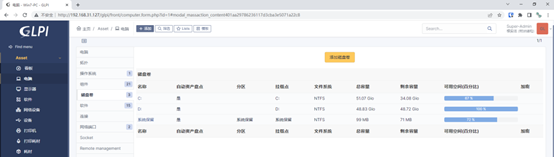
7、Windows资产脚本一键安装fusioninventory-agent
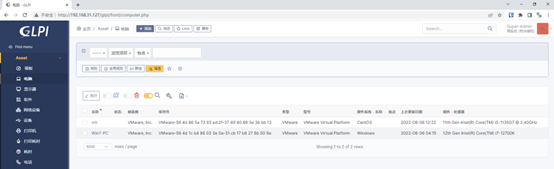
效果如下
8、Linux资产安装fusioninventory-agent
yum install -y fusioninventory-agent fusioninventory-agent-task-inventory
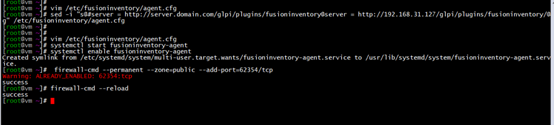
vim /etc/fusioninventory/agent.cfg
修改#server = http://server.domain.com/glpi/plugins/fusioninventory/为
server = http://192.168.31.127/glpi/plugins/fusioninventory/ 或者
sed -i "s@#server = http://server.domain.com/glpi/plugins/fusioninventory/@server = http://192.168.31.127/glpi/plugins/fusioninventory/@g" /etc/fusioninventory/agent.cfg
systemctl start fusioninventory-agent
systemctl enable fusioninventory-agent

firewall-cmd --permanent --zone=public --add-port=62354/tcp
firewall-cmd --reload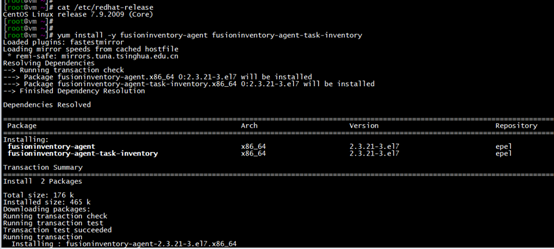
也可以如下命令后台运行
fusioninventory-agent --server http://192.168.31.127/glpi/plugins/fusioninventory/ --daemon效果如下
Tips:
1、定时任务
crontab -e
*/59 * * * * /usr/bin/php /var/www/html/glpi/front/cron.php > /dev/null 2>&1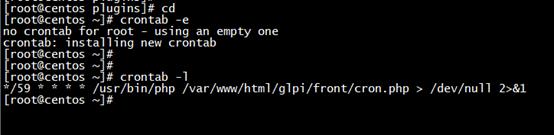
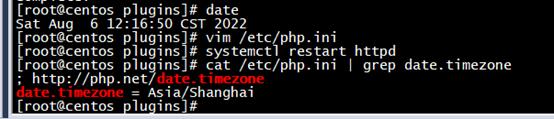
2、修改php.ini中时区
3、本文实现过程参考如下链接
https://zhuanlan.zhihu.com/p/131589491
https://blog.51cto.com/weicun/1943941
https://blog.csdn.net/robin_cai/article/details/123850521
https://blog.51cto.com/u_11954248/2358108
https://documentation.fusioninventory.org/
© 版权声明
文章版权归作者所有,未经允许请勿转载。
THE END


暂无评论内容